Last updated: August 23, 2026
Airbrushing miniatures is a sequence, not a technique. Primer, zenithal light, basecoat, then glazes and any shading you want, in that order, with each stage laid down thin enough that the one underneath still shows through where it should. Get the order right and a unit comes together in an evening.
What trips people up is trying to do too much in each pass. The airbrush rewards patience with thin coats and punishes the instinct to cover in one go, which is the instinct everyone brings from using a brush.
This article contains affiliate links. If you buy through them, we may earn a commission at no extra cost to you. Learn more.
Quick Answer
How do you airbrush miniatures properly?
- Prime thin, in a color that suits the scheme, and let it cure before anything else.
- Add a zenithal light from directly above so shadow and highlight are mapped before color.
- Basecoat in several thin passes rather than one heavy one, so the zenithal shows through.
- Glaze color over the top, keeping the paint thin enough that each pass barely shifts the tone.
Bottom line: thin paint, many light passes, and let the zenithal underneath do the shading work.
Prepare the Models Before You Spray
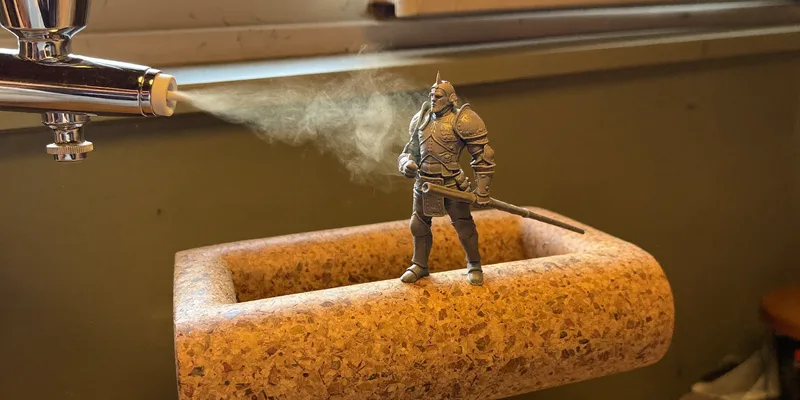
Wash the models if they are resin or came off a print, clean up mold lines, and mount them on something you can hold. Spraying a figure you are pinching between two fingers means either painting your fingers or missing a side. Corks, bottle caps and cheap handles all work.
Mount a whole unit at once. Airbrushing is efficient because you can do ten models in the time it takes to do one, and that only works if they are all ready to go.
The Grease Problem
Plastic and resin both come with release agent on them, and paint over release agent lifts later at exactly the point where the model gets handled. A wash in warm soapy water and a full dry beforehand prevents an annoying problem that only shows up weeks later.
Priming, and Priming Thin
Primer through an airbrush is one of the strongest arguments for owning one, because you can prime indoors, in any color, at your own pace. Thin it a little, keep the pressure moderate, and build up in passes until coverage is even. Heavy primer fills recesses and softens exactly the detail you are trying to keep.
Let it cure properly before the next stage. Primer that is dry to the touch is not necessarily hard enough to take masking or handling.

Choosing a Primer Color
Black primer deepens everything and suits dark schemes. White brightens and suits yellows, reds and anything you want to look vivid. Gray sits in the middle and is the safest default. Our primer guide covers the trade offs and when a can still makes sense.
The Zenithal Light
After the base primer, spray a lighter color from directly overhead so it catches the upper surfaces and leaves the recesses dark. That is a zenithal, and it maps out where light would fall before you have applied a single color. Keep the light pass gentle; you want a gradient, not a hard white cap.
Some painters add a mid tone from a shallower angle between the two, which softens the transition further. It is worth trying once you are comfortable with the basic version.
Why It Saves So Much Time
With shadow and highlight already in place, thin color over the top inherits the gradient. A single glaze of red over a zenithal base reads as shaded red, which by hand would be several steps. This is the technique that most changes how quickly a unit reaches tabletop standard.
Basecoating Without Killing the Zenithal
The mistake is spraying the basecoat until it fully covers, which erases the zenithal underneath and puts you back where you started. Instead thin the color further than feels right and build it up in light passes, stopping while the gradient is still visible through it. Two thin passes usually beat one solid one.
Watch the recesses. Paint pooling in a crevice means you are applying too much at once or holding the brush in one place too long.
Air Ready Paints Make This Easier
Paint lines formulated for airbrushes start closer to the right consistency, which means fewer variables while you are learning the passes. You will still adjust, because bottles thicken with age, but you begin nearer the target.

Glazes, Filters and Shading
A glaze is color thinned so far that a single pass barely changes the surface, applied repeatedly to shift a tone gradually. Through an airbrush this is where the tool earns its reputation, because you can push a color across a panel or into a recess with control that a brush cannot match.
Work at low pressure and close in, and expect several passes. If one pass makes an obvious difference, the mix is too strong to be a glaze.
Knowing When to Stop
Glazing is easy to overdo because each pass looks harmless. Set the model down and look at it from arm’s length after every few passes. What reads as subtle at close range often reads as heavy at viewing distance, which is the distance that matters on a table.
The Sequence in One Table
The full order for a tabletop standard unit, from bare plastic to a sealed finish. Thinning is described relative to the paint rather than as a ratio, since every paint line behaves differently, and pressure is relative to whatever setting you found on your own test card during setup.
| Stage | Consistency | Pressure | Watch for |
|---|---|---|---|
| Primer | Slightly thinned | Moderate | Filling recesses |
| Zenithal light | Thin | Low | Hard edged cap on top |
| Basecoat | Thin, milk like | Low | Covering the zenithal |
| Glazes | Very thin | Low | Overdoing it pass by pass |
| Varnish | As directed on the bottle | Moderate | Frosting in humid air |
Everything after this stage, edge highlights, faces, freehand and basing, is hand brush work and always will be.
Cleaning Between Colors
Miniature painting means many colors in small quantities, so the cleaning habit is what decides whether an evening is productive. Empty the cup, wipe it, fill with cleaner, backflush by covering the crown cap, and spray through until it runs clear. That is under a minute and it prevents almost every clog.
At the end of the session, strip the brush down properly. The full routine is in our cleaning walkthrough.
Frequently Asked Questions
How thin should paint be for miniatures? Roughly the consistency of milk for basecoats, and considerably thinner for glazes. Test on a card before the model: a thin continuous stream off the stirrer is the target, not something that drips in blobs.
Do I have to do a zenithal? No, but it is the technique that gives the biggest return for the time it takes. Without it you are relying on later shading steps to create depth, which is more work with a brush.
Can I airbrush contrast style paints? Yes, thinned, over a zenithal base, and in light passes. They are designed to pool in recesses, so heavy application through an airbrush can look blotchy. Build them up gradually.
Why does my basecoat look chalky? Usually pressure too high or the brush held too far away, so paint starts drying before it lands. Move closer and lower the pressure, and check the paint is not over thinned with water.
How do I keep paint out of the recesses? Shorter passes, less paint per pass, and keep the brush moving. Pooling is a symptom of too much paint arriving in one place, not of the paint being wrong.
Should I varnish after airbrushing? If the models will be handled or transported, yes. Spray it in reasonable conditions, since varnish can frost in humid air, and follow the instructions on the specific product.
The Bottom Line
Work the sequence: clean and mount the models, prime thin, add a zenithal light from above, basecoat in light passes that leave the gradient visible, then glaze color over the top. Thin everything more than feels natural and expect several passes instead of one. Clean between colors and strip the brush at the end. Read next: airbrush primer and zenithal priming for the base, and thinning acrylic paint for the ratios that make all of this work.